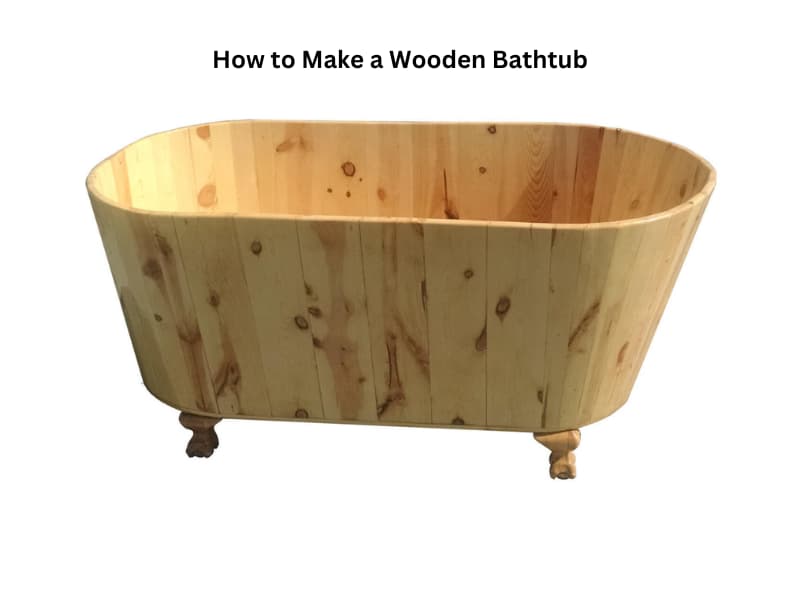
With bathtubs gaining popularity for their relaxing nature and increase in a home’s value, having one is increasingly becoming a no-brainer. Wooden ones have a unique touch and, instead of buying it, you can easily make your own. I show you how in the sections below.
Make a wooden bathtub by measuring the area, measuring and cutting the wood, smoothing the edges, making the drain, and fixing the faucet, flooring the bathtub, joining the pieces together, working the corners, gluing the bathtub, positioning and fixing the drain and faucet holder.
I’ve tried this procedure myself and, while they need some experience with wood-cutting and other DIY skills, it’s not too hard. If you can’t do it yourself, enlist the services of an expert or a dedicated DIYer. Once done, you can throw in some bath bombs and have a relaxing soak in the tub.
How to make a wooden bathtub: steps
For this exercise, you need strong adhesive glue, measuring tape, wood, screws, a pencil, sandpaper, a plane, a rasp, a board, and a scraper.
Once you are armed with these tools, follow these steps to make a wooden bathtub:
1. Measure the area
It would be disappointing to have the tub ready while making it on the outside, only to be too big to fit. Or to have it facing the wrong direction.
You need to make all relevant measurements considering the drainage of your bathroom. You don’t want to have a bathtub that can’t drain water.
Planning before starting is key; you need to measure and decide the direction the bathtub will face. That will help you determine the shape of the final product.
2. Measure and cut the wood
You can cut the wood at home or have the lumbers do it.
Cutting the wood yourself will take time, and you may miss the cut by a few inches which may alter the quality of the final product. It also takes too much effort to cut all the wood by yourself.
3. Smooth the edges
You need your wood smooth to make the work easier. Get the sandpaper, work, and ensure the edges of all your wooden pieces are smooth.
The smooth edges make the fixing work easier once you get to that step. It’s also a safety measure. You don’t want chippings of the wood penetrating below your nails, leading you to halt the entire process.
4. Make the drain and fix the faucet holder
Spread out the wood pieces as you would like them to appear.
Using a pencil, label each piece according to its final position and identify the wood that will carry the drain.
To eliminate doubt, carry the piece of wood to the bathroom and mark the area you want to drill the drain. Then, once sure, drill the hole.
Repeat the process on the piece that will act as the faucet holder. Again, exact measurements and precision when making the holes will affect the final product’s look. As such, take time and repeat the measurements if necessary.
5. Floor the bathtub
It’s now time to make the bathtub floor, and in our case, you should consider having a wooden waterproof board for your floor.
The board is more durable, meaning you will have your tub for longer, and its functionality is unmatched, given that it will not suck up water soon, unlike having pieces of wood stuck together.
6. Join the pieces together
At this point, assemble the pieces of wood you had mapped out in the beginning at the intended point.
The bathtub should now start taking shape. Ensure the joinery is seamless and smooth, as it will make the work easier and take less time. You don’t want to redo the entire product by having rough joints that leave spaces between them.
7. Work the corners
The corners are critical in a wooden bathtub because they create a weak point where the water can easily leak if it isn’t properly worked out.
First, cement the corners with waterproof cement and allow the cement to dry for about 12 hours. Ensure that every corner is worked out before leaving the tub to dry, as leaving some parts out will take you a step back.
Next, apply glue to the corners. The glue should be a strong adhesive to ensure water doesn’t penetrate and all the edges are firmly held together.
8. Glue the bathtub
The bathtub is in shape, and you are doing the final touches. At this point, you need to apply the adhesive to the entire bathtub ensuring every wooden piece is held in its place.
To make your work easier, you could get a waterproof adhesive that you apply around the bathtub giving it that gloss-smooth finish. If you don’t have the glue with a clear finish, use the normal wood glue on the tub, then apply the gloss finish later.
Allow the bathtub time to dry. During this time, ensure the tub is in a cool area with minimal wind or people touching, as this will take you back to where you have to sandpaper and smooth the wood.
9. Position, fix the drain, and the faucet Holder
Your bathtub is now at the final stage, where you position it to its place, fix the drain, and set out the pipes to their position.
Clean the working area and test out your self-made wooden bathtub. Quite an accomplishment!
Also, while at it, be careful not to damage tiles in the shower since it’s not cheap or easy to install tiles in the shower.
Wooden bathtub repair and maintenance
A wooden bathtub is a statement symbol; to have it serve you long enough, you need proper maintenance.
To have the bathtub serve you longer, observe the following:
1. Use high-quality sealant
Moisture, water, and air do not work well with wooden items, and the bathtub is not exempted. So, you need a top-notch waterproof sealant to ensure water doesn’t penetrate through the wood too soon.
2. Use a gloss finish
To limit the amount of water, humidity, and moisture that penetrates through the wood, you will need to apply a coat of gloss finish to keep the water at bay.
As you make the bathtub, you can opt to have two or more layers of clear varnish or your choice of gloss finish as it extends the life of your bathtub.
3. Proper positioning
Unlike other materials, such as ceramic bathtubs that are hardly affected by weather conditions, wooden bathtubs are sensitive.
Exposing the bathtub to too much sunlight or continuous exposure to rain and cold will ruin it. Instead, keep the bathtub in a cool, dry place.
Ensure the drains are properly functioning and not dripping water beneath the bathtub exposing it to moisture and water, making it wear out fast.
4. Keep heavy weights out of the tub
A wooden bathtub may not be able to hold so much weight, and it may have several pressure points. Don’t allow the young one to jump up and down on the tub or swing on the edges.
After a while, the wood gets weaker and can only support minimal weight, especially the wooden bathtubs with thin edges.
Besides these precautions, always clean the tub after each use then wipe it dry. If it clogs up, you can make your own drain snake to unclog it.
Conclusion
Wooden bathtubs are a classic addition to any home. However, it’s even better when you learn how to make one to customize it to your liking. It may take time to make a wooden bathtub, probably two or three days, but the final product is worth the effort and time.